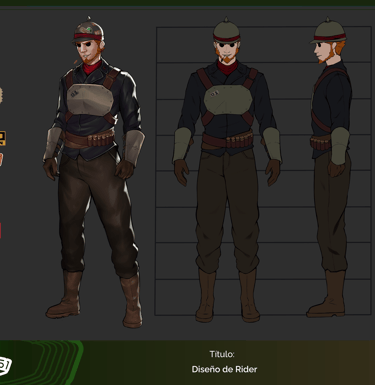
Village 51
Overview

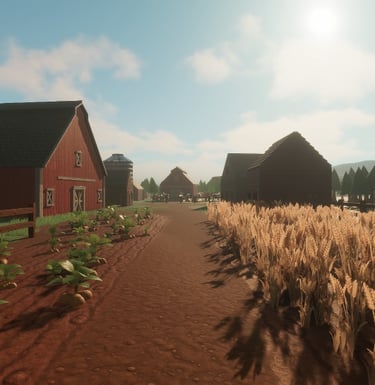
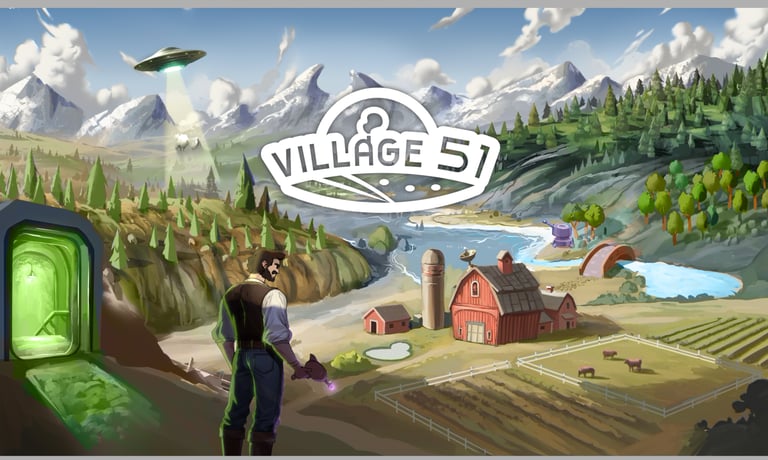
Village 51 is a farm management game where you play as a retired Area 51 agent. Tired of the stress from your previous job, you decide to move to a small village, buy a farm, and live a peaceful life.
However, peace is the last thing you’ll find in this village, as it is full of aliens, monsters, and other unexpected challenges that you will encounter along the way.
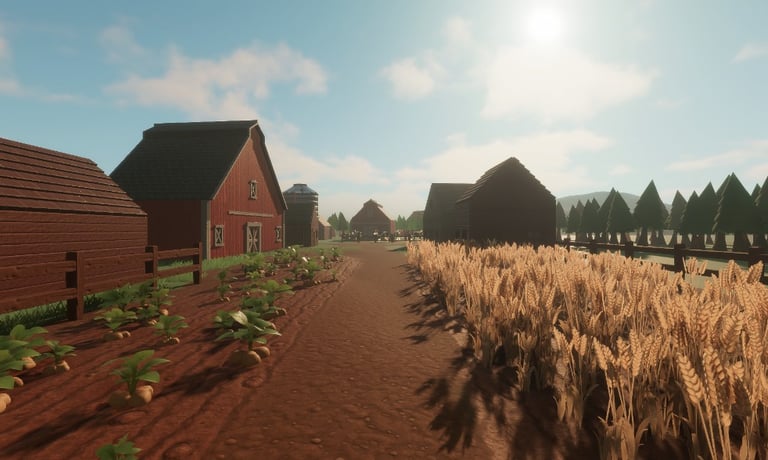
The Farm
Within the farm, players can grow crops and raise animals, starting with the basics. As they sell their products, they can gradually unlock better crops, raise higher-quality animals, and access new types of livestock.
With the additional income, players can expand their farm by purchasing more land to grow their agricultural empire. Some purchasable plots provide access to mines, where players can gather minerals and resources needed to build new structures and craft essential farm items.
However, expansion comes with risks: the larger the farm becomes, the more it attracts unwanted threats.

Farm Attacks
The larger the farm grows, the more it becomes a target for different types of enemies, which the player can also encounter in various locations across the map.
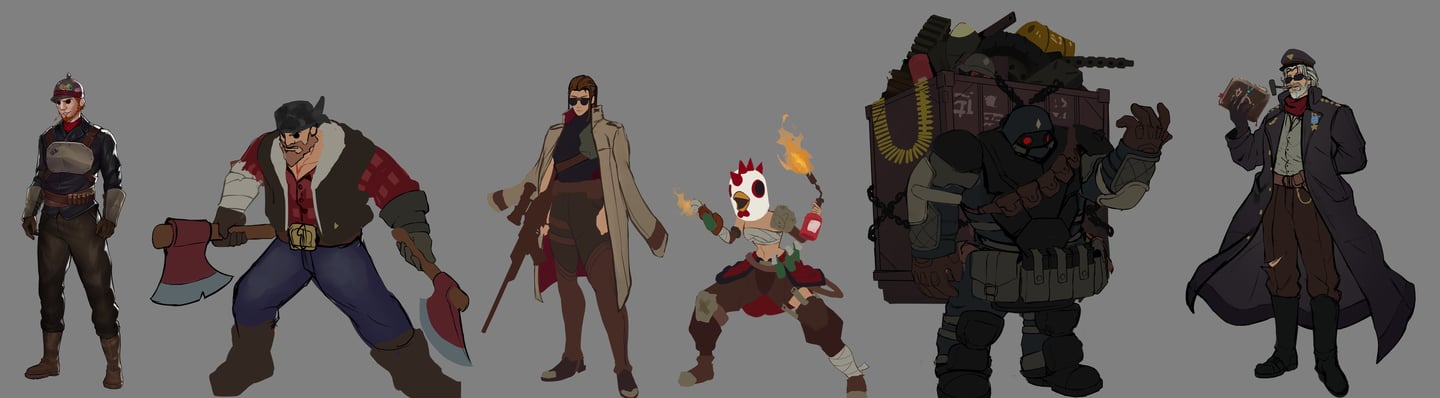
The player can be attacked by:
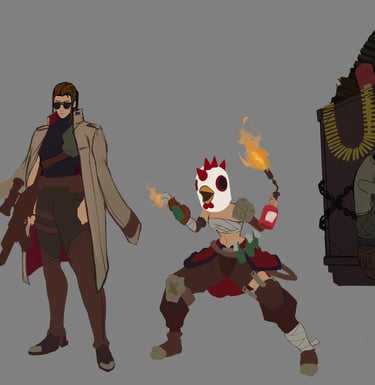
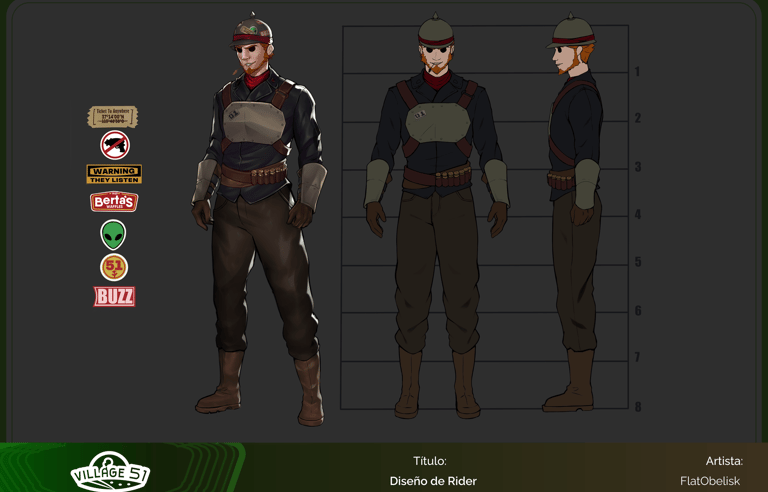
Raiders: Attempt to steal resources from the barn.
Aliens: Kidnap livestock for experiments.
Animals: Consume crops and livestock.
Monsters: Attack indiscriminately to drive people away.
Secret Agents: Aim to eliminate evidence of aliens, advanced technology, and other unusual phenomena.
My Contribution to the Project
Mechanics Design:
I designed the game mechanics with a constant focus on cohesion between all systems. The player must progress in every aspect of the game to reach their full potential.
(All content is under NDA, so only select elements are shown here. For more details, please contact me.)
The livestock system is meticulously designed not only for acquisition but also for breeding, ensuring gradual yet challenging growth that organically extends gameplay time.
Breeding:
Breeding is based on specific conditions. Players must meet a set of requirements to have the possibility of mating their animals.
Once these conditions are met, there is a chance that the next day a breeding totem will appear in the store (one per animal species). The totem can only be applied to two animals that meet the unlocking conditions. After use, one of the animals becomes pregnant and produces offspring, consuming the totem.
Each pair of animals of the same species slightly increases the probability that a breeding totem will appear in the store.
Conditions for the breeding totem to appear:
Well-fed
Good hygiene
Adult
Maximum affinity level
Rarity and Statistics:
Livestock comes in different rarities, which determine their quality and category. These are defined by five statistics, each ranging from 0–100, with a maximum total of 500 if all stats reach their peak.
The statistics are:
HP: Higher amount of meat when sold
Production: Better quality of products
Production Speed
Mutation Factor
Fertility: Better transmission of stats to offspring
The category of the livestock depends on the sum of all statistics, and each category provides bonuses related to the individual stats.
Livestock Categories by Total Stats:
0: “Down”
1–100: Gray
101–200: Green
201–300: Blue
301–400: Purple
401–499: Gold
500: Glowing with a crown
Livestock System:
Gene/Statistics Transmission:
The best way to obtain an animal with perfect stats is through breeding. To maximize farm resource production, it is crucial to consider the parents’ statistics when breeding.
The fertility stat determines how many genes and how easily they are passed on, making high fertility essential for producing ideal offspring. The parent with higher fertility has a greater chance of contributing to the stat lottery (tentatively 75–25%).
Stat Lottery Based on Dominant Fertility:
Fertility 0–20:
80% chance to pass the best stat
10% chance to pass the 2 best stats
7% chance to pass the 3 best stats
2% chance to pass the 4 best stats
1% chance to pass all stats
Non-inherited stats are generated randomly between 10–100 points (weighted towards lower values).
Fertility 21–40:
60% chance to pass the best stat
20% chance to pass the 2 best stats
14% chance to pass the 3 best stats
4% chance to pass the 4 best stats
2% chance to pass all stats
Non-inherited stats: 20–100 points (weighted lower).
Fertility 41–60:
30% chance to pass the best stat
30% chance to pass the 2 best stats
25% chance to pass the 3 best stats
10% chance to pass the 4 best stats
5% chance to pass all stats
Non-inherited stats: 30–100 points (weighted lower).
Fertility 61–80:
15% chance to pass the best stat
25% chance to pass the 2 best stats
30% chance to pass the 3 best stats
15% chance to pass the 4 best stats
10% chance to pass all stats
Non-inherited stats: 40–100 points (weighted lower).
Fertility 81–100:
5% chance to pass the best stat
20% chance to pass the 2 best stats
35% chance to pass the 3 best stats
25% chance to pass the 4 best stats
15% chance to pass all stats
Non-inherited stats: 50–100 points (weighted lower).
Animal Care:
Maintaining good animal care is key to production. This includes:
Proper feeding
Cleanliness of the pen
Collecting resources produced by the animals
Keeping these three aspects at a high level maximizes animal well-being, unlocking benefits such as a higher probability of a fertility totem appearing in the store the next day and bonuses to production upgrades.
Other Mechanics Designed:
Inventory System
Agriculture System
Mining System
Construction System
Farm Attack System
Buy & Sell System
Enemy System
Enemy Camp System
All of these mechanics were designed with the same level of detail to ensure a deep, engaging, and replayable game.
(If you would like to learn more about other mechanics and my design approach, please contact me.)
Level Design
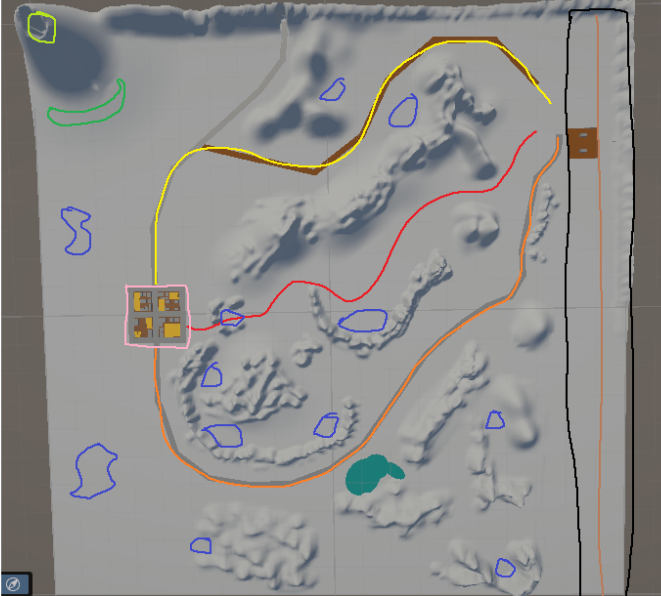
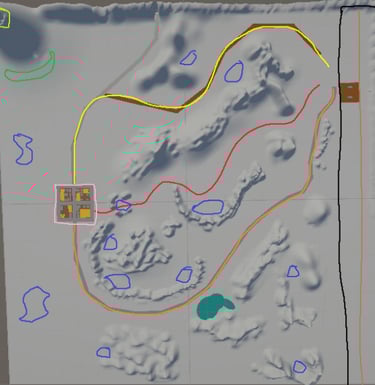
The map spans 4 km², carefully divided and organized to guide the player through the key areas of the environment.
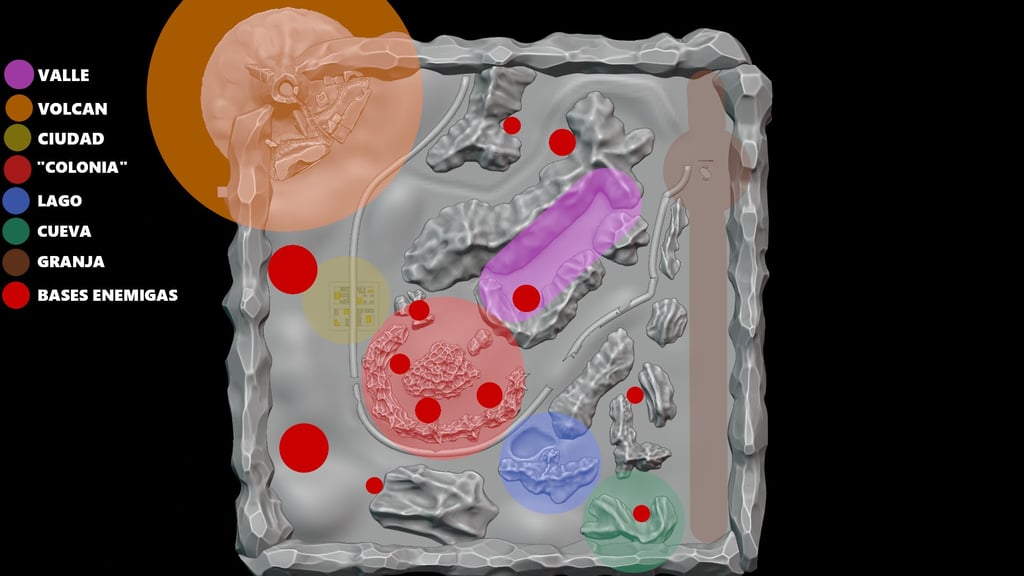
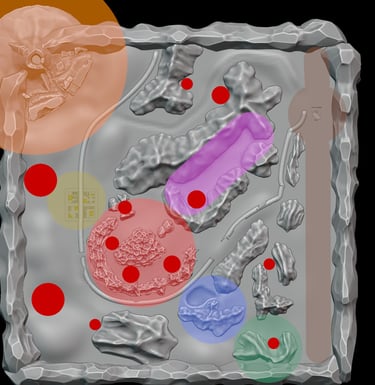
Map Division:
Right Side (Black and Brown):
This area of the map is where the player can expand their land.Orange Path:
The fastest route to the village, with no threats to the player.Red Path:
The shortest route from the farm to the village, but also the most dangerous, passing through the highest concentration of enemy camps.Yellow Path:
A rugged path that goes through the forest. It contains some threats but also provides materials the player needs.Blue Points:
These represent camps of different enemy types, each with unique behaviors and rewards.Dark Green Point:
The alien camp, the only one of its kind. It is the most difficult to defeat and provides the most valuable rewards.Light Green Point:
Represents the alien shop. It is unlocked after completing a set of specific challenges in the alien camp.Pink Square:
Represents the village, where the player can purchase items necessary for farm progression.
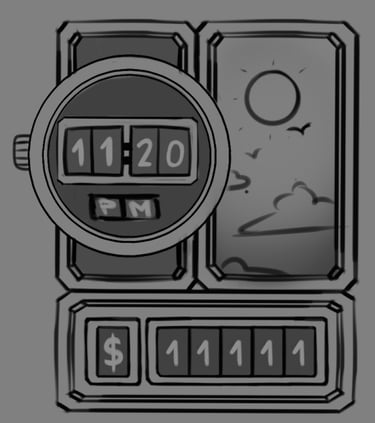
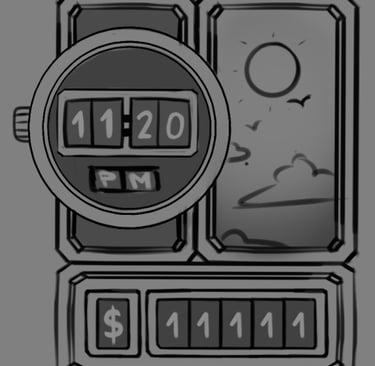
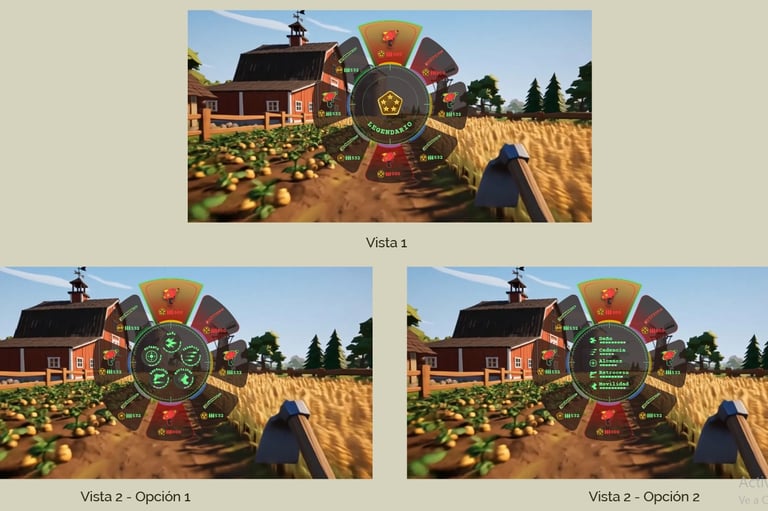
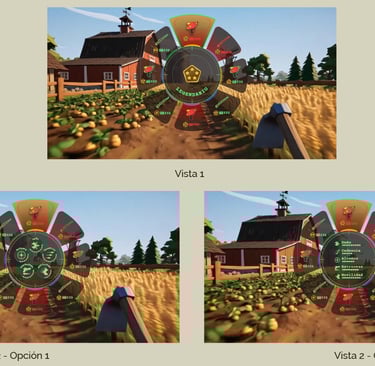
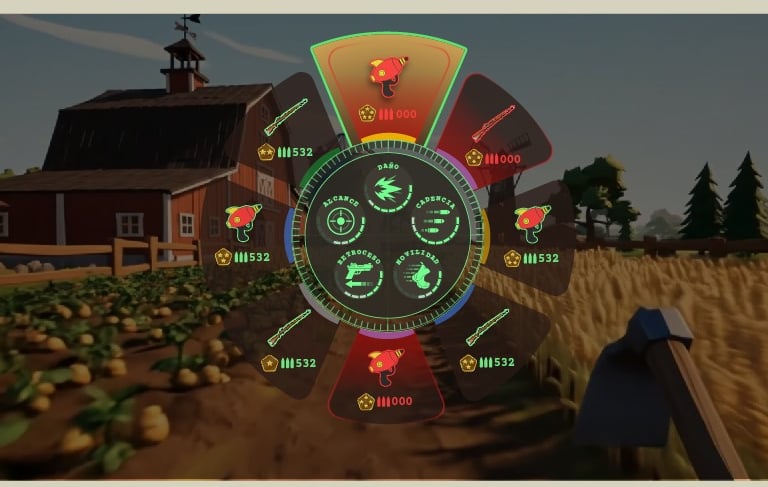
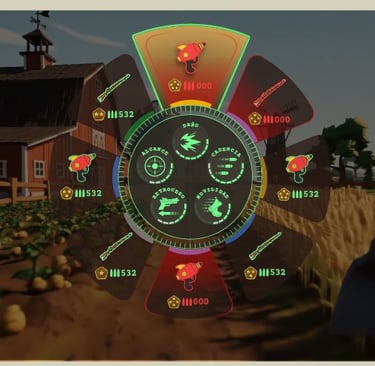
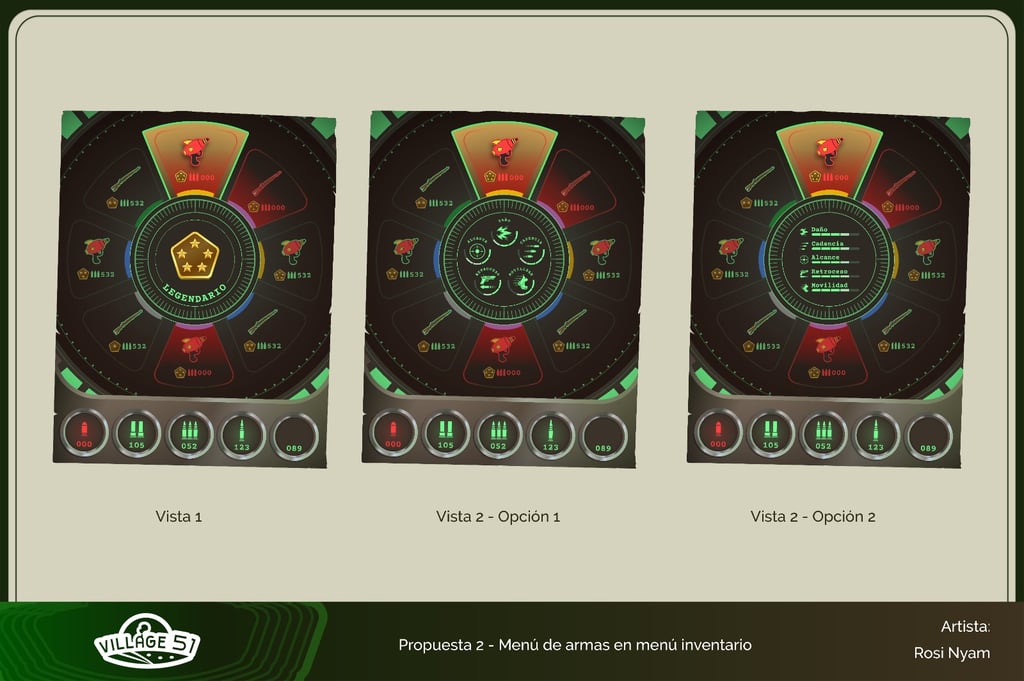
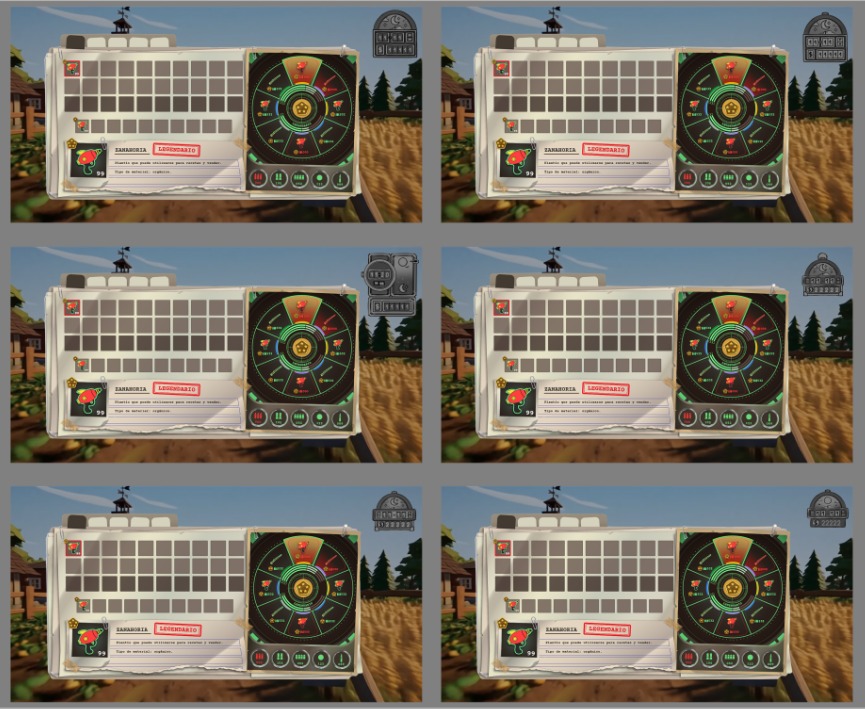
UI Design